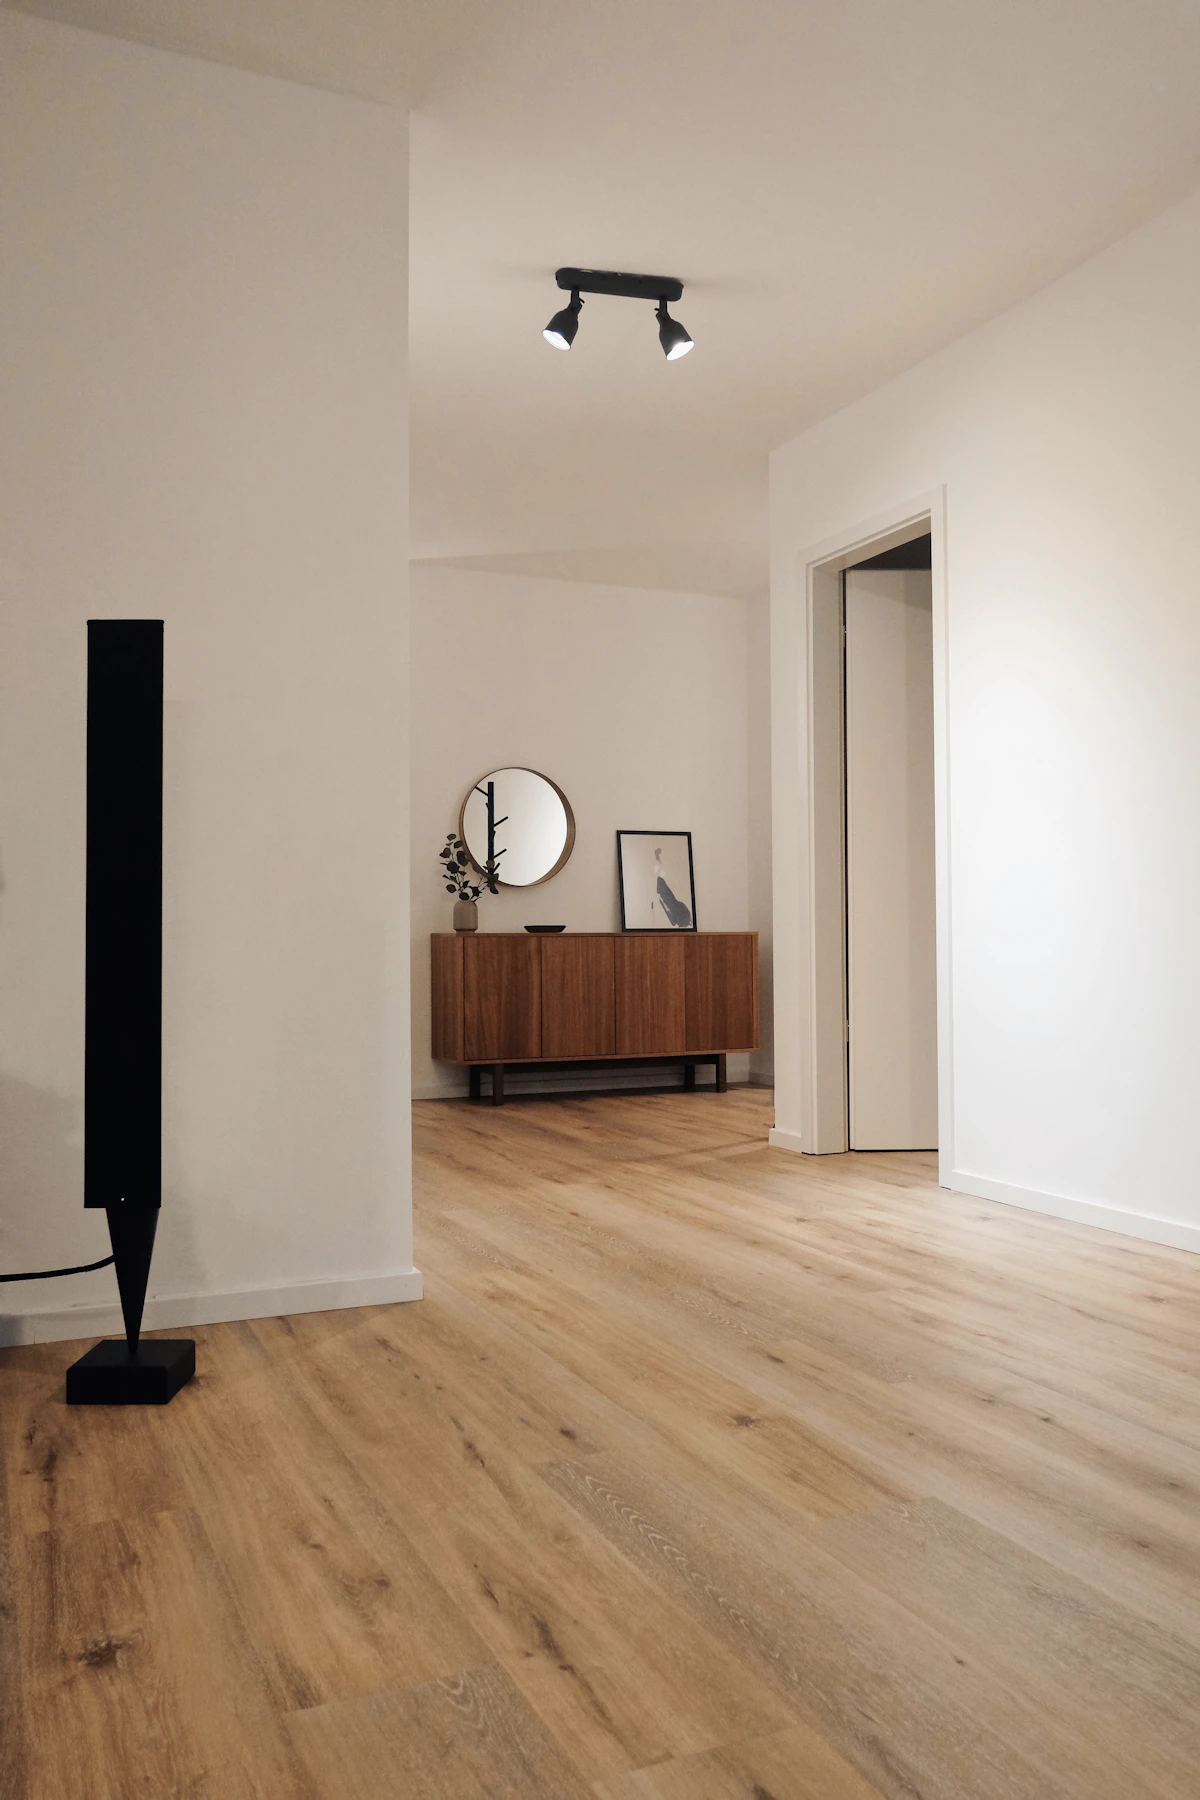
The most common vinyl plank mistake isn't choosing the wrong color or skipping the underlayment. It's starting your first row flush against the wall. It feels logical — walls are straight, so start there, right? By the time you reach the opposite wall, you're often left with a sliver-thin final row that's nearly impossible to cut, click into place, or keep straight. Box counts won't reveal this — you need to visualize the rows first.
The Sliver Cut Problem
Picture a room that's 11 feet 8 inches wide. Your planks are 7 inches wide (7.25 inches with the click-lock profile). Starting from the left wall:
- Row 1–19: full planks cover 11 ft 4 in
- Row 20: you need a 4-inch-wide cut — workable
- But if the room is 11 ft 6 in instead? You end up with a 2-inch sliver
Sliver cuts are fragile. They don't click together reliably, they show every imperfection in the subfloor, and they look unbalanced. The fix is simple: plan your layout before you cut a single plank.
Find the Center of the Room
Measure the width of the room at both ends (walls aren't always parallel). Use the narrower measurement for your layout math. Divide by two to find the center point. Snap a chalk line down the length of the room at that center point.
This line is your reference — not the wall.
Calculate Rows From Center
Divide the room width by the plank width (including expansion gap). In our 11 ft 8 in example with 7.25-inch planks:
- 140 inches ÷ 7.25 inches = 19.3 rows
You can't install 0.3 of a row, so you need to decide: 19 full rows or 20? Work outward from center:
- 9 full rows left of center + 9 full rows right = 18 rows
- That leaves 1.3 rows worth of width to split between the two walls
- Each side gets a cut row of about 6.5 inches — much better than a 2-inch sliver
If the math gives you a cut narrower than 3 inches on one side, shift your starting line slightly so both sides are at least 3–4 inches wide.
Stagger Your End Joints
Vinyl plank looks best when end joints are staggered by at least 6 inches (many manufacturers require 8–12 inches). Plan your first row's starter piece length so the second row's joints don't line up.
A common approach: cut the first plank in row 1 to 2/3 length, start row 2 with a full plank, start row 3 with 1/3 length. This creates a natural brick pattern.
Measure twice
Flooring Layout Calculator
Calculate plank counts and visualize every row — even in L-shaped and custom room shapes — to catch sliver cuts before install day.
Open calculatorWork From Left to Right, Not Wall to Wall
Once your center line is set:
- Dry-lay a row along the chalk line without clicking
- Check that end cuts on both walls are reasonable (4+ inches)
- Begin installing from the left, working toward the right
- Use spacers along walls for the 1/4-inch expansion gap
// TODO: affiliate link — vinyl plank cutter makes these rip cuts clean.
Hallways and Doorways
In hallways, center the layout across the width so cuts are equal on both sides. At doorways, carry the plank under the jamb (cut the jamb, not the plank) for a professional look. Transition strips go where vinyl meets tile or carpet — not in the middle of a doorway if you can avoid it.
When to Start From the Wall
There are exceptions. In a galley kitchen where one wall is always hidden by cabinets, starting from the visible wall makes sense. In open-concept spaces, center the layout on the most visible sightline from the entry.
The Flooring Layout Calculator lets you enter room dimensions and plank width, then draws every row on screen. You'll see whether you'll end up with sliver cuts — and can shift the layout — before you open the first box. It even handles L-shaped and custom room shapes, so rows are planned against your actual walls — something most flooring calculators can't do.
Quick Reference
| Room width | Plank width | Risk of sliver cut if starting from wall |
|---|---|---|
| 11'0" | 7.25" | High — 2.5" final row |
| 12'0" | 7.25" | Low — full rows with room to spare |
| 10'6" | 6" | Medium — depends on which wall you start from |
Always calculate from center. Always check both wall cuts before committing.
The ten minutes you spend previewing the layout on screen saves an hour of frustration at the last row. Use the Flooring Layout Calculator to see every plank row and avoid sliver cuts.
Measure twice
Flooring Layout Calculator
Calculate plank counts and visualize every row — even in L-shaped and custom room shapes — to catch sliver cuts before install day.
Open calculator

