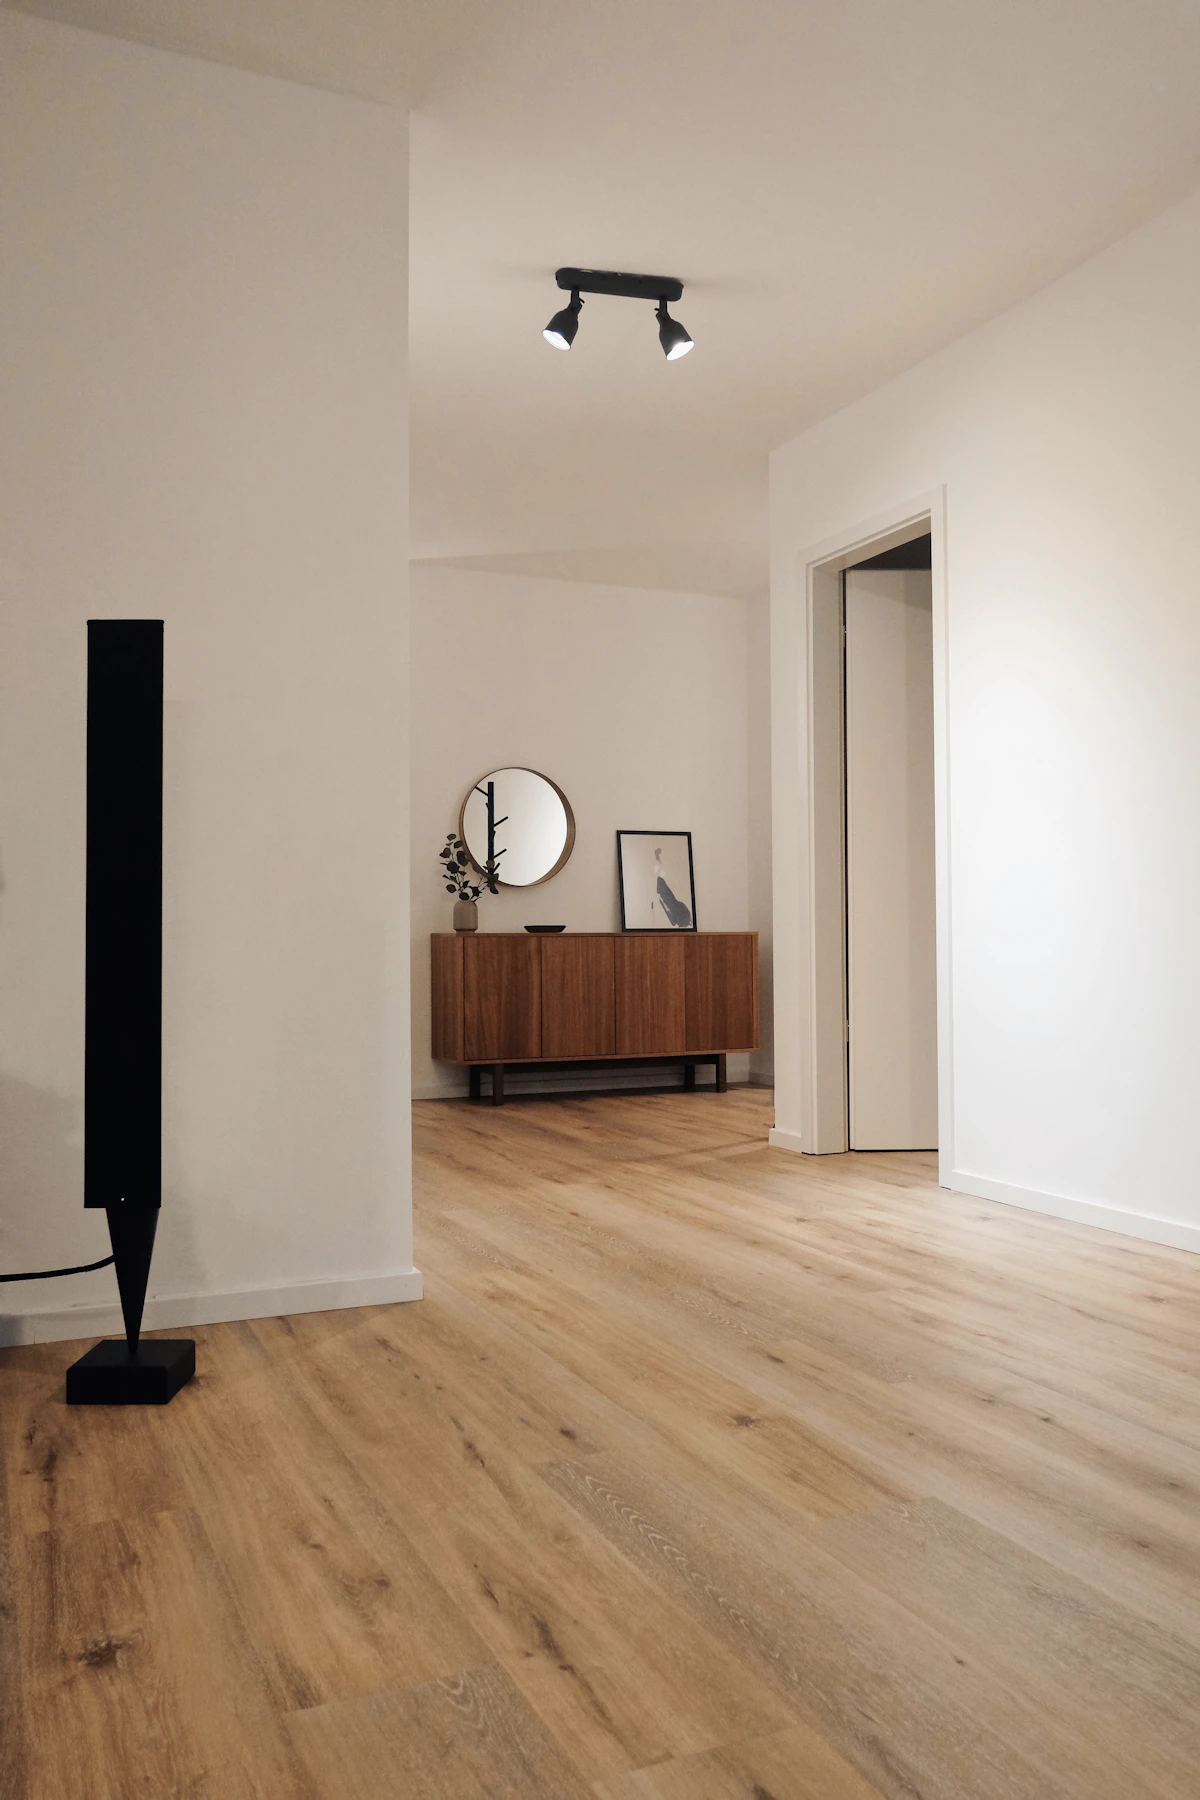
Luxury vinyl plank (LVP) sells itself as beginner-friendly — click-lock, no glue, goes right over most subfloors. And most of that is true. But the mistakes that ruin an LVP floor usually happen in the first hour: bad layout, skipped prep, or rushing acclimation. Calculating square footage won't warn you about a 2-inch final row — you need a layout visualizer for that. Here's what to watch for.
1. Starting From the Wall (Sliver Cuts)
The number-one layout mistake. You click your first row against the wall, work across the room, and the final row ends up 1–2 inches wide. Sliver rows don't click reliably, flex too much over uneven subfloor, and look visibly unbalanced.
Fix: Measure room width, find center, and calculate rows outward in both directions. Both wall-side cuts should be at least 3–4 inches wide. If the math doesn't work, shift your starting line — not your standard for what counts as acceptable.
We covered the full layout method in Why You Shouldn't Start Flooring From the Wall. The Flooring Layout Calculator runs the row math for you and flags sliver-cut layouts before you open a box.
2. Skipping Acclimation
LVP expands and contracts with temperature. Bringing boxes straight from a cold garage or hot truck into a climate-controlled house and installing the same day is asking for gapping or buckling once the planks adjust.
Fix: Stack boxes flat in the install room for 48 hours minimum (check your manufacturer's spec — some want 72). Don't store planks leaning against a wall or standing on end.
3. Ignoring Subfloor Flatness
LVP is thin and flexible. It follows every dip, hump, and screw head in the subfloor. Over time, those imperfections telegraph through as visible seams, soft spots, or broken click-lock tabs.
Fix: The industry standard is 3/16 inch variation in 10 feet (some manufacturers want 1/8 inch). Run a long level or straightedge. Sand high spots, fill low spots with floor patch or self-leveling compound. Sweep and vacuum thoroughly before laying underlayment.
4. Forgetting the Expansion Gap
Vinyl needs room to move at every perimeter — walls, cabinets, pipes, and door casings. Butting planks tight against a wall with no gap causes the floor to buckle when it expands.
Fix: Maintain a 1/4 inch expansion gap at all fixed objects. Use spacers during install. Baseboard and shoe molding cover the gap — the plank itself should never touch the wall.
Measure twice
Flooring Layout Calculator
Calculate plank counts and visualize every row — even in L-shaped and custom room shapes — to catch sliver cuts before install day.
Open calculator5. Misaligned Click-Lock Joints
Forcing a plank at an angle when the previous row isn't fully seated is the fastest way to break a locking tab. Once a tab snaps off, that plank is scrap.
Fix: Insert the long edge at a low angle (most brands want 20–30 degrees), then drop the plank flat and tap with a mallet and tapping block — never hammer directly on the plank edge. Check each joint is fully closed before moving to the next row.
Also stagger end joints by at least 6 inches (many brands require 8–12). Stacked joints create weak lines and look amateur.
6. Running Continuous Plank Through Every Room
LVP floats — it's not glued down. A single continuous run from the living room through the hallway into the bedroom has no room to expand independently in each space. Seasonal movement concentrates at doorways and causes peaking or gapping.
Fix: Break the floor at doorways with a transition strip or T-molding. Treat each room as its own floating field. Undercut door jambs and slide plank underneath for a clean look, but don't lock separate rooms into one giant sheet.
Underlayment: Know When You Need It
Not every LVP requires separate underlayment — many products have attached padding. But if yours doesn't, or if you're installing over concrete, underlayment adds moisture protection, sound dampening, and minor subfloor smoothing.
Fix: Read the box. If the manufacturer requires a specific underlayment (or prohibits one), follow that spec. On concrete slabs, use a vapor barrier rated for below-grade install.
Quick Reference
| Mistake | What you'll see later | Fix |
|---|---|---|
| Wall-start layout | Narrow final row | Plan from center |
| No acclimation | Gaps or buckling | 48+ hours in the room |
| Bad subfloor | Soft spots, visible seams | Patch and level first |
| No expansion gap | Buckled floor at walls | 1/4" spacers everywhere |
| Forced click-lock | Broken tabs, open joints | Angle-and-drop, use tapping block |
| No doorway breaks | Peaking at transitions | Transition strips per room |
LVP is forgiving compared to hardwood, but it's not magic. Flat subfloor, balanced layout, proper gaps, and patience at the click-lock joints are what separate a floor that lasts from one that lifts at the edges next winter.
Run your layout through the Flooring Layout Calculator before you cut plank one. It draws every row with your dimensions — including L-shaped and custom room shapes — and flags sliver-cut layouts. Ten minutes on screen beats an afternoon fighting a 2-inch final row.
Measure twice
Flooring Layout Calculator
Calculate plank counts and visualize every row — even in L-shaped and custom room shapes — to catch sliver cuts before install day.
Open calculator